April is National Lawn and Garden Month. This is both a celebration and a call for all of us to begin (if you haven’t already) prepping your home for outdoor living for the warm seasons. To keep your space healthy and beautiful, here are a few helpful lawn and hardscape maintenance tips.
4 Steps for Easy Lawn Care
Step 1: Cleaning & Prepping Your Lawn
Whether it’s the front facing the street or the back where you spend leisure time, your yard sets the tone for how your home is viewed. Getting a jump on cleaning, prep, and maintenance in the spring will make upkeep much easier throughout the year.
First, clean up the debris in your yard — remove branches, sticks, rocks, dog toys, etc. If you have quite a bit of dead leaves, rake them up and put them in a compost. Light leaf fall can simply be left to mulch into the yard upon mowing.
Thatch is a different story. Thatch is the layer of mainly dead turf grass tissue between the green grass and the root system and soil below. Thin layers of thatch in lawns provide insulation against temperature extremes and fluctuations in soil moisture. But it can be a problem when it grows to over an inch thick. Rake these areas to remove any thatch so the green grass underneath can thrive.
If you have any large bald spots, you may look at picking up some sod to match your current grass and spot-plant in those areas. In high-traffic areas, the soil beneath grass gradually becomes compacted and unable to let grass root. You can aerate the soil to alleviate this problem. Aeration involves perforating the soil with small holes to reverse compaction and allow air, water, and nutrients to penetrate the grass roots producing a stronger, more vigorous lawn.
Step 2: Weeding and Fertilizing Your Yard
If you live in an area where it’s still cool and weeds have yet to sprout, you can use a pre-emergent to help prevent weeds as the weather warms. Make sure you do not use this in areas where you have planted seeds, as it will prevent the seeds from growing. If you live in a warmer area where weeds have begun to crop up, use a weed-and-feed product that will help eliminate existing weeds while also fertilizing your grass.
If you don’t have any weeds (hooray for you), fertilize your grass. Your local independent garden center has trained staff that can recommend the product that’s right for your yard, as well as the best time to perform these tasks depending upon your region and climate. If you choose not to use pesticides or herbicides, you can get rid of weeds by hand digging up crabgrass, snapping off dandelion flower stems before they produce seeds and removing any other invading weeds before they take over your yard. In addition, there are a variety of weed removal tools that make eliminating these plants easier than by hand.
Step 3: Tuning Up the Lawn Mower
You should plan to give your mower a tune-up once a year. The primary tune-up tasks include changing the oil, installing new spark plugs, and replacing the air filter. Sharpening the mower blade is also key, which ensures the blade severs the grass leading to a nice green lawn. You can perform these tasks yourself or bring your mower to a repair shop. It’s best to bring it in during the winter months so it’s ready for spring.
Lawn Mowing Tip
When you mow, adjust the mower to a higher setting. This technique gives you taller grass, which will sink deeper roots that seek out moisture and ultimately crowd out weeds. Here are basics for popular types of grass:
- Most types will thrive when mowed with a 3” – 4” blade height.
- Bermuda prefers a lower profile 1” – 2” blade height.
- Zoysia, Centipede and St. Augustine perform best somewhere in between around 2” – 3” blade height.
Step 4: Edging Your Lawn
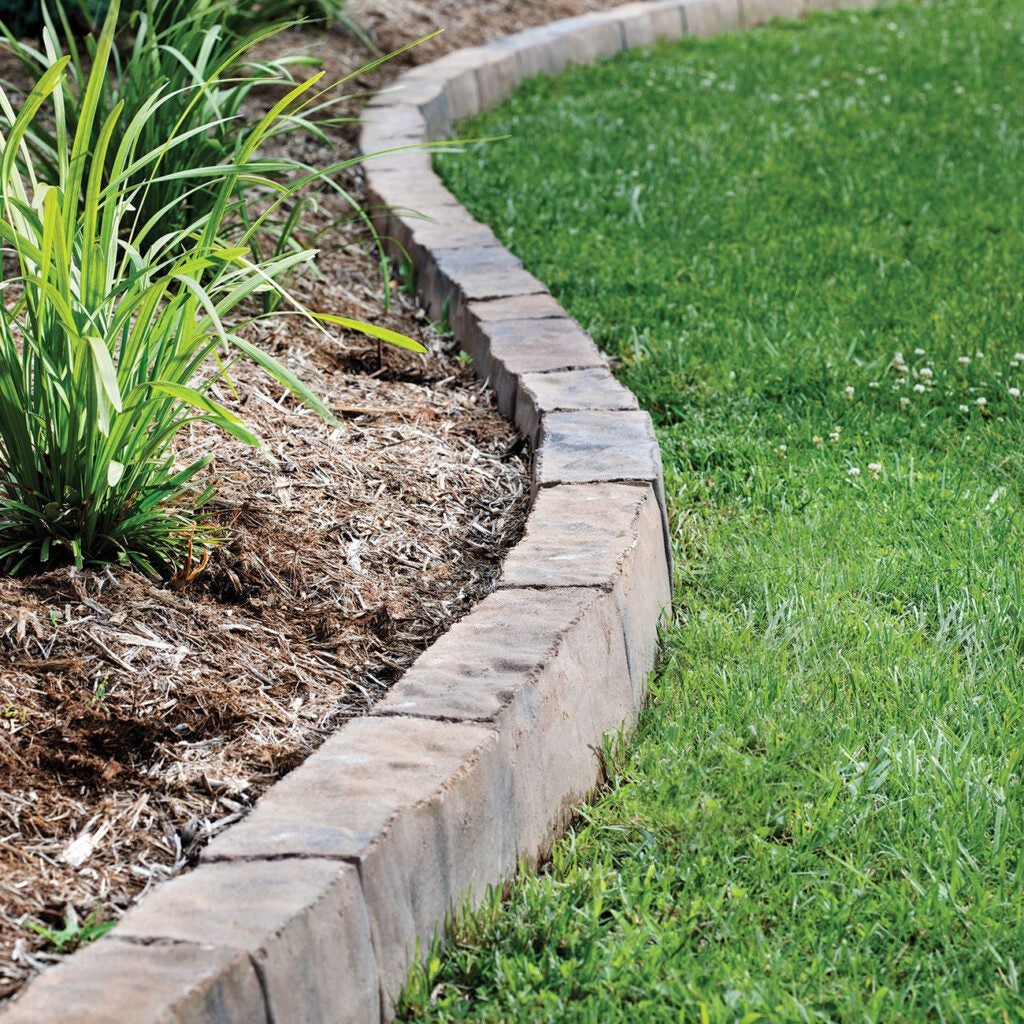
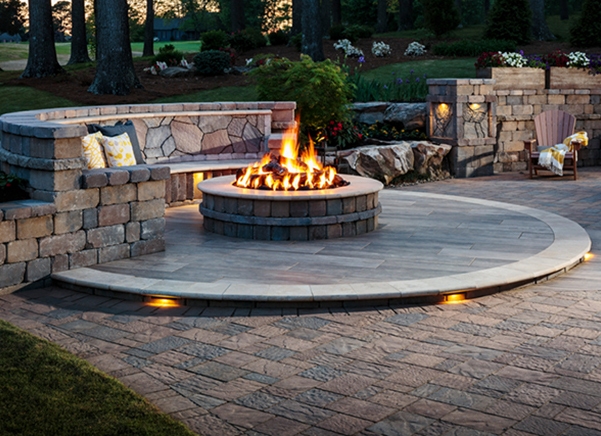
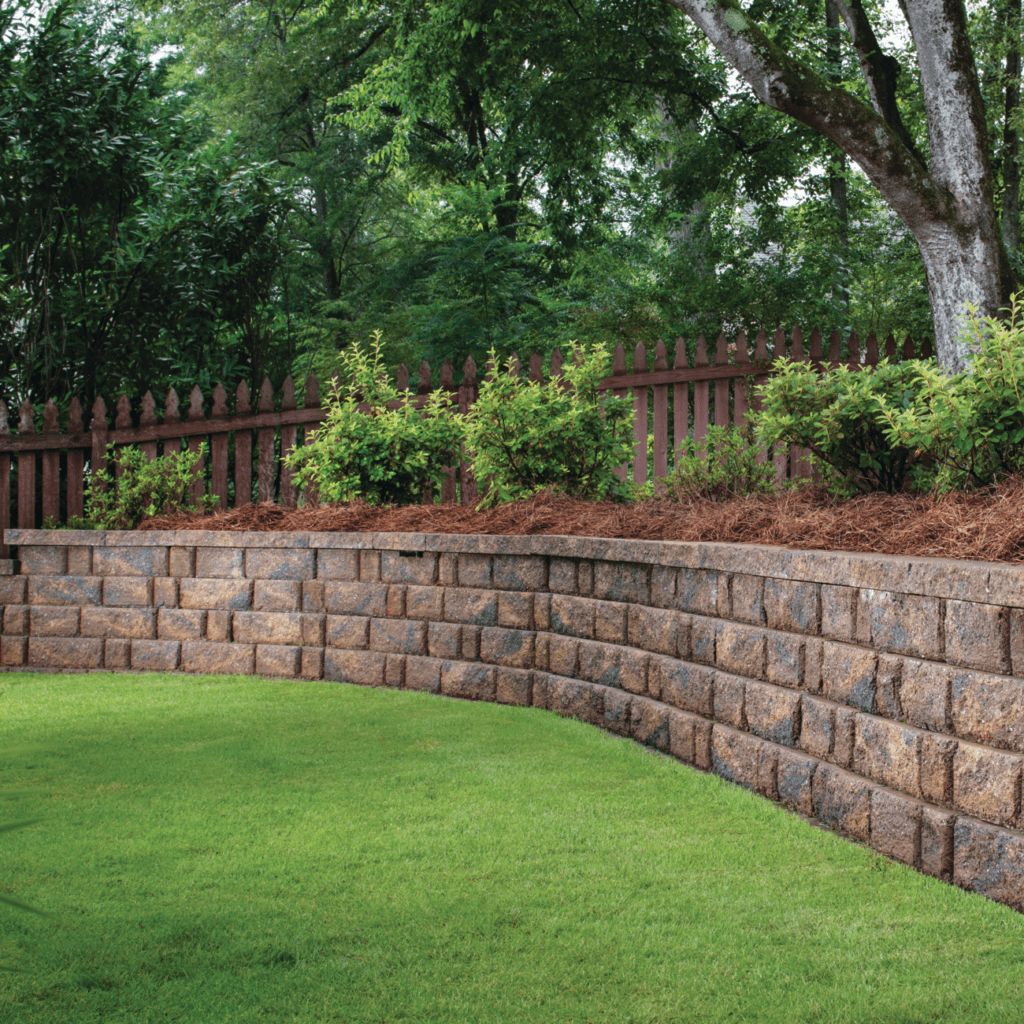
Placing a barrier between your yard and your flower beds helps prevent grass from invading your landscaping – plus, it enhances the look of your home. You can use an edging tool (handheld, walk-behind or motorized) to create this barrier or install a physical border such as plastic, metal, stone or pavers. For more tips, check Joe Raboine’s blog on paver edging options.
For Those Who Rock
If you have a grassless yard — such as a rock garden in the southwest — leaves, weed and debris will be your primary focus when prepping this area. A rake, or better yet, a leaf blower can help to clear leaves and sticks. Next, remove any weeds that have grown up through cracks in the rocks. Be careful using chemicals, as they could stain or damage some rock landscapes. Manually removing the weeds is the best option. If you haven’t created your rock landscape yet, it is a good idea to lay a foundation fabric like linen or polyester over the soil to help prevent any growth of weeds or any other unwanted pests for your landscape. As time passes, moss or weeds can grow on the rocks and make them less attractive. They can be cleaned with a pressure washer, hose and nozzle, or even hand-cleaned with a kitchen brush.
2 Steps for Perfect Paver Care
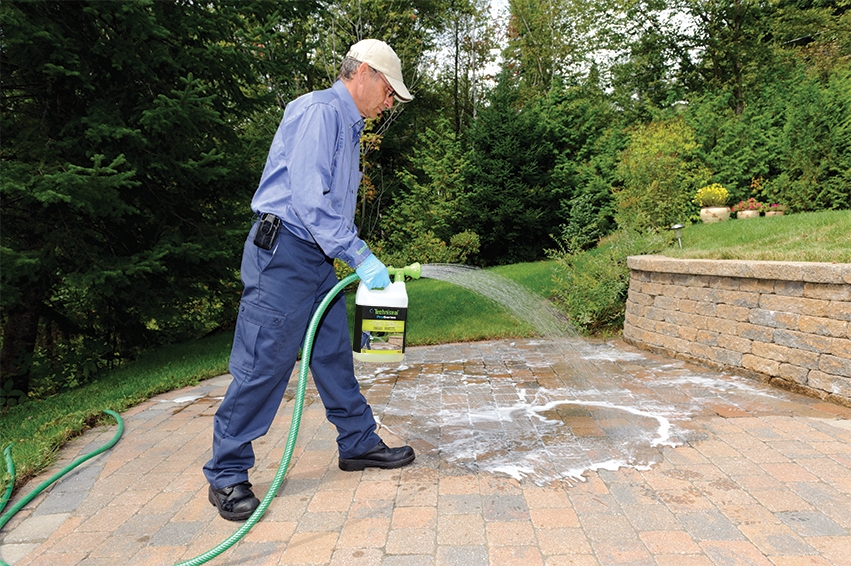
Step 1: Cleaning & Prepping Your Hardscape
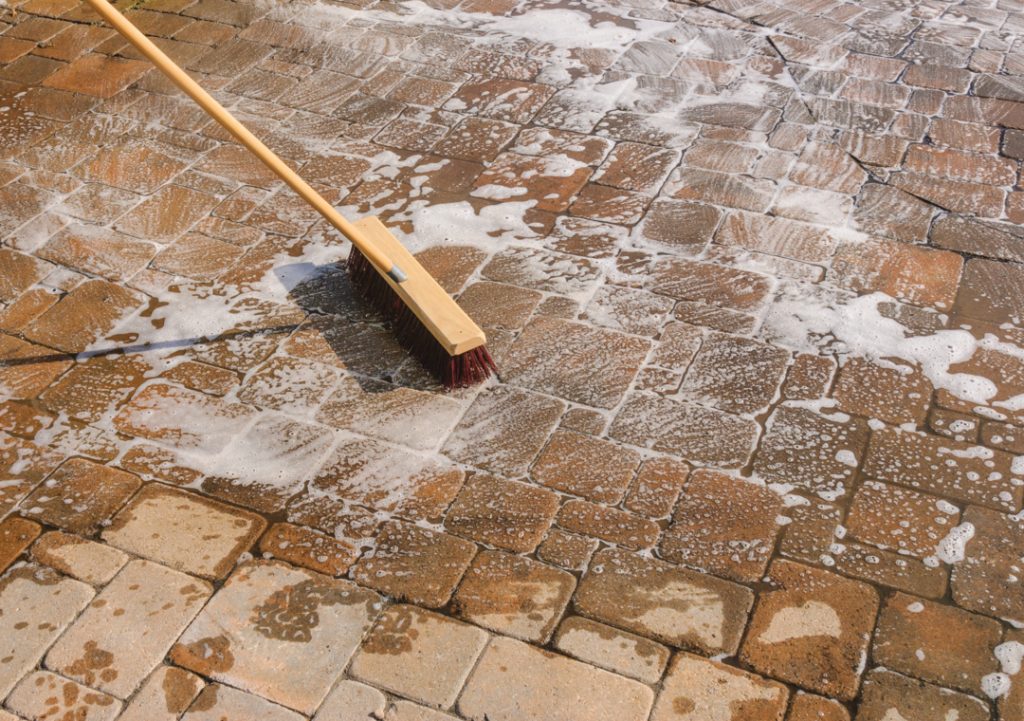
Hardscapes are durable but still need some routine maintenance to keep them looking their best. If you do see any stains from leaves or other organic material, make sure to tackle them as soon as possible. You can find cleaning solutions formulated for specific stains like mold, mildew or grease. After removing the stains, use a push broom, brush or pressure washer to clean the area. If using a pressure washer, be careful to use a low pressure that cleans but does not damage the paver. After cleaning, if you use joint sand between your pavers, this is the time to brush in more if it’s needed. Be sure to keep the sand 1/8” below the edges of the pavers, using a combination of a broom and a blower to remove excess sand off the surface.
Step 2: Protecting & Sealing Pavers
Sealing pavers can help prevent stains and protect color from fading. When it comes to paver sealant, Techniseal® sealants are great for keeping pavers looking like new. If you choose to seal your pavers, they should be treated with Techniseal® Paver Prep prior to sealing. Not only will it clean the pavers and remove any efflorescence (or whitish salt buildup), but it will also open the pores on the surface to allow better penetration of the sealant. Remember, any stains should be removed prior to applying Paver Prep.
Sealant Tip
Keep in mind that a high gloss finish will bring out the paver color, while a matte finish primarily serves to protect pavers and reduce maintenance.